Philippines 3-Week Itinerary for First-Time Visitors
A realistic route for island lovers, divers, and travelers who don’t want to spend half their trip in transit
Planning a Philippines 3-week itinerary sounds dreamy at first — until you open the map and realize just how many islands, routes, flights, ferries, and travel decisions are involved. Every island seems to promise something different, and before long, it becomes very easy to build a trip that looks exciting on paper but leaves you spending half your time in transit.
That’s why, if you only have 3 weeks in the Philippines, I would personally not plan more than 3 main island areas. It gives you enough time to actually experience a place, recover between travel days, and enjoy the trip instead of constantly moving through it.
In this post, I’m sharing my exact 3-week Philippines itinerary as a first-time visitor flying in from Montreal and a scuba diver at heart, with a route that combined Cebu, Palawan, and Coron without trying to cram in the entire country.

Intro to the Philippines
The Philippines is a vast archipelago made up of thousands of islands, and that is part of what makes it so exciting to travel. Depending on where you go, your trip can look completely different. Some travelers come for world-class diving and marine life. Others want island hopping, white-sand beaches, surf towns, jungle adventures, waterfalls, or a mix of city stops and nature.
And that is exactly where planning gets tricky.
The Philippines is not the kind of destination where you can simply pick a few pretty islands at random and expect the route to make sense. Some places are better for divers, some are better for surfers, and some are ideal for travelers who want a slower, more relaxed pace. Add in domestic flights, ferries, road transfers, and the reality that travel often takes longer than it looks on a map, and the whole thing can get chaotic fast.
For first-time travelers, I think the smartest approach is to choose a trip style first and then build the route around that, instead of trying to squeeze in every famous destination.
For me, that meant focusing on diving, island scenery, and slower travel through Palawan. That decision shaped this entire itinerary and helped me build a route that felt exciting, varied, and realistic for 3 weeks.
What to Know Before Planning a 3-Week Philippines Itinerary
- Travel between islands takes longer than it looks. A short route on the map can easily turn into a full day of flights, ferries, van rides, and waiting time.
- Weather can affect your plans. Ferries and boat transfers are not always guaranteed, especially when conditions are rough, so some flexibility matters.
- Domestic flights save time, but they still take a chunk out of your day. Airport transfers, check-in, baggage rules, and delays mean a flight day is rarely just a quick hop.
- Cash is still important. In smaller towns and island destinations, cash is often more useful than cards, so do not assume you can pay for everything digitally.
- English is widely spoken. This makes the Philippines an easy destination for first-time travelers to navigate.
- Build in some breathing room. A route always looks easier on paper than it feels in real life. A little flexibility makes the trip much more enjoyable.
Transit Reality: Flexibility Matters
Travel in the Philippines often looks easier on a map than it feels in real life. Even short moves can involve flights, ferries, van transfers, waiting time, and weather-related changes.
I ran into that right away in Cebu. My original plan was to go to Malapascua to dive with thresher sharks, but wind conditions shut down the ferry services, so I changed course and headed to Moalboal instead.
It worked out well in the end, but it was a reminder that flexibility matters. This is also one of the main reasons I would not try to fit too many islands into a 3-week itinerary.
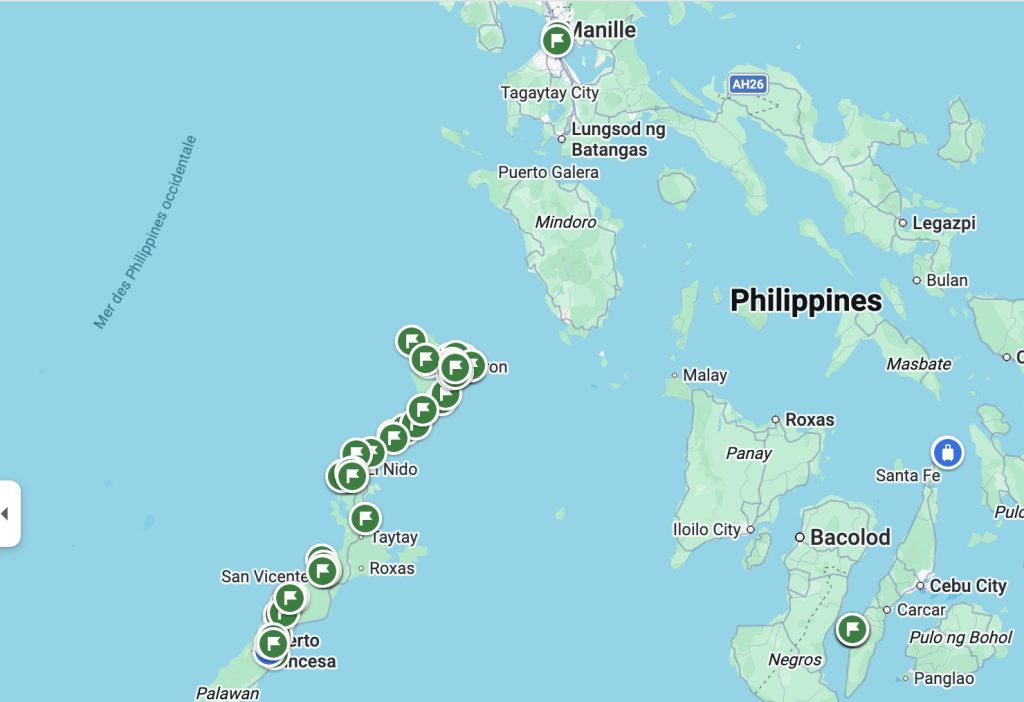
My Philippines 3-Week Itinerary at a Glance
Here’s how I split my 3 weeks in the Philippines, with a route focused on diving, island scenery, and slower travel through Palawan.
| Stop | Nights | Why it’s worth it |
|---|---|---|
| Manila | — | International arrival point before continuing on to the islands |
| Cebu | — | Transit point to reach Moalboal |
| Moalboal | 3 | Great for diving, marine life, and the sardine run |
| Puerto Princesa | 2 | A softer arrival into Palawan before heading north |
| Honda Bay | — | An easy island-hopping stop near Puerto Princesa |
| Sabang | 2 | Worth it for the Underground River and a quieter Palawan stop |
| Port Barton | 2 | A slower, more relaxed break between bigger destinations |
| El Nido | 4 | Iconic scenery, island hopping, and one of Palawan’s highlights |
| El Nido to Coron Sea Expedition | 2 | A 3-day, 2-night boat journey that becomes part of the experience |
| Coron | 4 | A strong final stop for lagoons, beaches, and diving |
Why I Chose This Philippines Route
I wanted my first trip to the Philippines to feel exciting, but still realistic for 3 weeks. As a scuba diver, underwater experiences were a big priority, but I also did not want to spend half the trip in transit.
That is why I built this route around diving, island scenery, and slower travel through Palawan. Instead of treating Palawan like a quick jump from Puerto Princesa to El Nido, I wanted to experience it more deeply through an overland route.
I chose to rent a car in Palawan so I could stop in towns along the way more easily, rather than relying on daily tours, dealing with unnecessary backtracking, or simply taking a shared van straight north. It gave me more freedom and made the journey through Palawan feel just as valuable as the destinations themselves.
My original plan was to go from Cebu to Malapascua to dive with thresher sharks, but wind conditions shut down the ferry services, so I changed course and went to Moalboal instead. That early change reinforced how important flexibility is when planning a trip through the Philippines.
Is This Philippines 3-Week Itinerary Right for You?
This itinerary is a good fit if:
- it’s your first time in the Philippines
- you love diving and/or snorkeling, island scenery, and island hopping
- you want to experience some of Palawan’s most iconic sights
- you want some slower stops, not just constant movement
- you want a route that feels exciting but still realistic
This itinerary may not be for you if:
- you want a surf-focused trip
- you want to see as many islands as possible
- you prefer one-base travel only
- you want nightlife-heavy destinations
Easy Ways to Adapt This 3-Week Philippines Itinerary
Not every traveler wants the exact same rhythm, so here are a few easy ways to adjust this route depending on what matters most to you.
- If diving is your top priority, spend longer in Moalboal or Coron. Both are strong choices if you want more time in the water and fewer transitions.
- If you want less movement, cut one stop in Palawan. Removing either Puerto Princesa, Sabang, or Port Barton can make the route feel much lighter, depending on what kind of experience you want most.
- If you prefer quieter travel, extend Port Barton. It is one of the slower, more relaxed stops on this itinerary and a good place to build in extra downtime.
- If you want more iconic Palawan scenery, keep El Nido and Coron as your priorities. Those are two of the biggest highlights if your focus is on dramatic island landscapes and classic boat-day experiences.
- If you want surfing, this is not the right route. You would be better off building a different Philippines itinerary around a surf destination like Siargao instead.
My Philippines 3-Week Itinerary, Day by Day
Days 1–3: Arrival in Manila, Cebu and Moalboal
I flew from Montreal to Manila and took a same-day domestic flight to Cebu to start the trip. Cebu is a great island to build around if scuba diving is part of your Philippines itinerary, because even if one plan falls through, you still have strong alternatives nearby.
My original plan was to continue on to Malapascua to dive with thresher sharks, but wind conditions shut down the ferry services. Instead of losing time trying to force that route, I changed plans and headed to Moalboal instead.
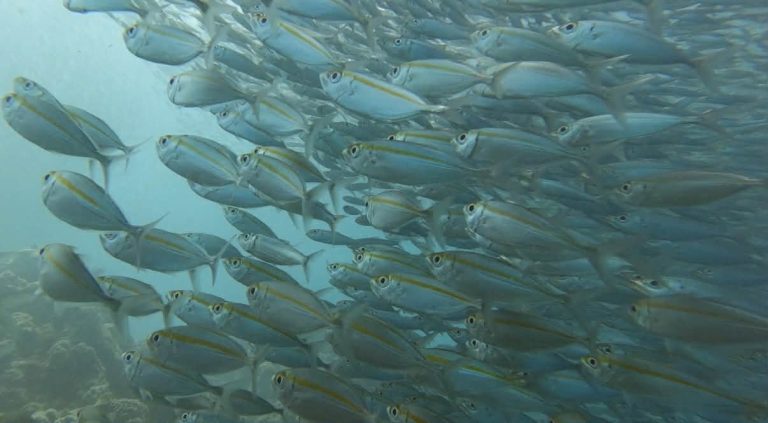
That pivot ended up working really well. Moalboal still gave me exactly what I wanted at the start of the trip: an easy, dive-friendly base, great marine life, and a relaxed atmosphere that made it easy to settle into the Philippines without overcomplicating the route. It is especially known for the sardine run, which you can experience right from shore and which is every bit as mesmerizing as people say.

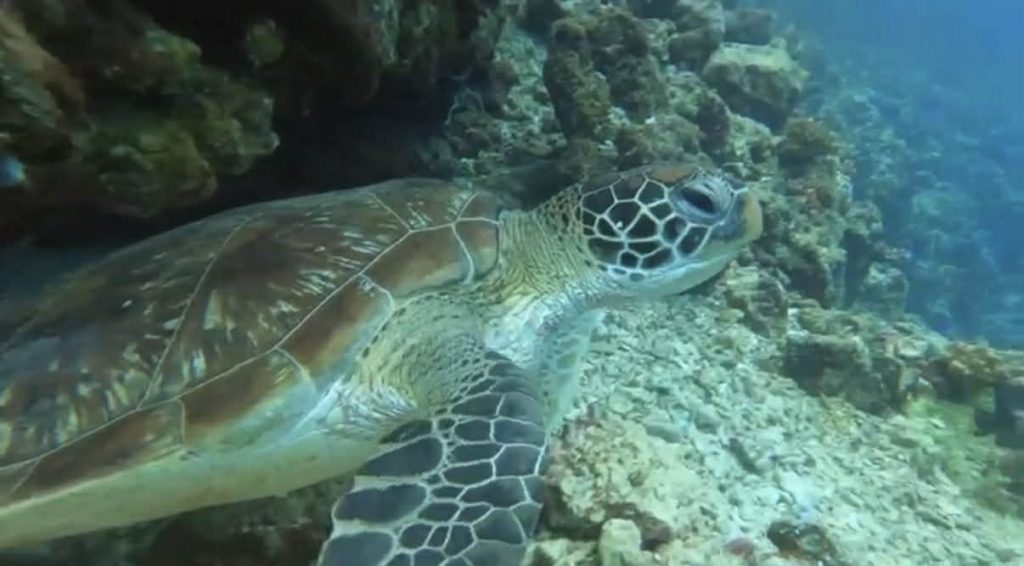
Beyond the sardines, diving around Pescador Island was another highlight, with lots of turtles and even a small cave area toward the end of the dive. Moalboal also has enough nightlife if you want it, but I stayed at a dive resort just outside the main town, about a five-minute walk away, which made things feel much quieter and helped me recover from the 12-hour time difference from Montreal.
I stayed 3 nights in Moalboal, which gave me enough time to fit in 4 dives, ease into the trip, and still keep the pace relaxed. It also meant I could schedule my next flight 24+ hours after diving, in line with DAN’s recommendations.
Moalboal at a glance
- Best for: diving, sardine run, marine life
- Nights: 3
- Why I included it: it was a flexible, dive-friendly stop that worked beautifully for a first trip
Read more: Moalboal Travel Guide: Sardine Run, Diving, Where to Stay & 2-Day Itinerary
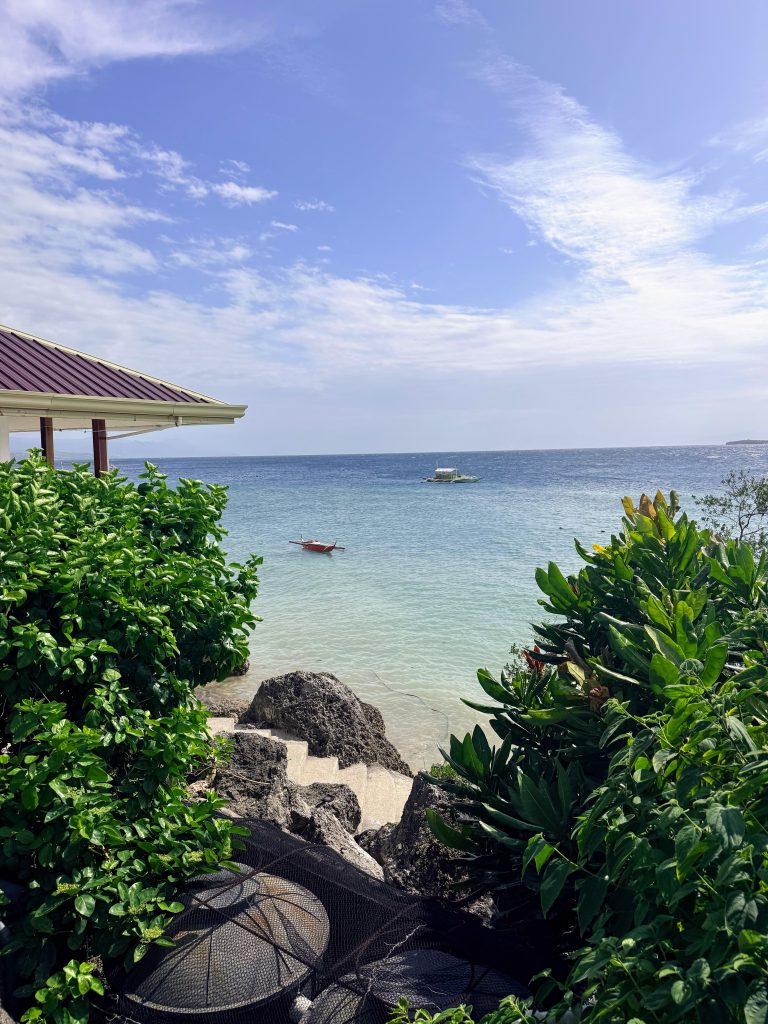
Days 4–8: Puerto Princesa, Honda Bay and Sabang
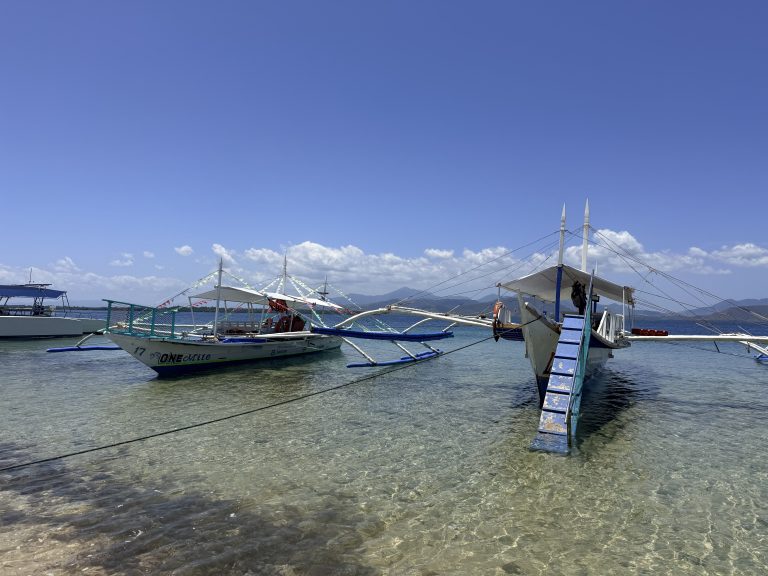
After Cebu, I flew to Puerto Princesa and stayed 2 nights at a seaside resort before heading north. It gave me time to settle into Palawan before starting my roadtrip.
From there, I rented a car and started an overland route through Palawan, which was one of the best decisions of the trip. It gave me the freedom to stop in different towns along the way rather than relying on daily tours, doing unnecessary backtracking, or simply taking a shared van from Puerto Princesa straight to El Nido.
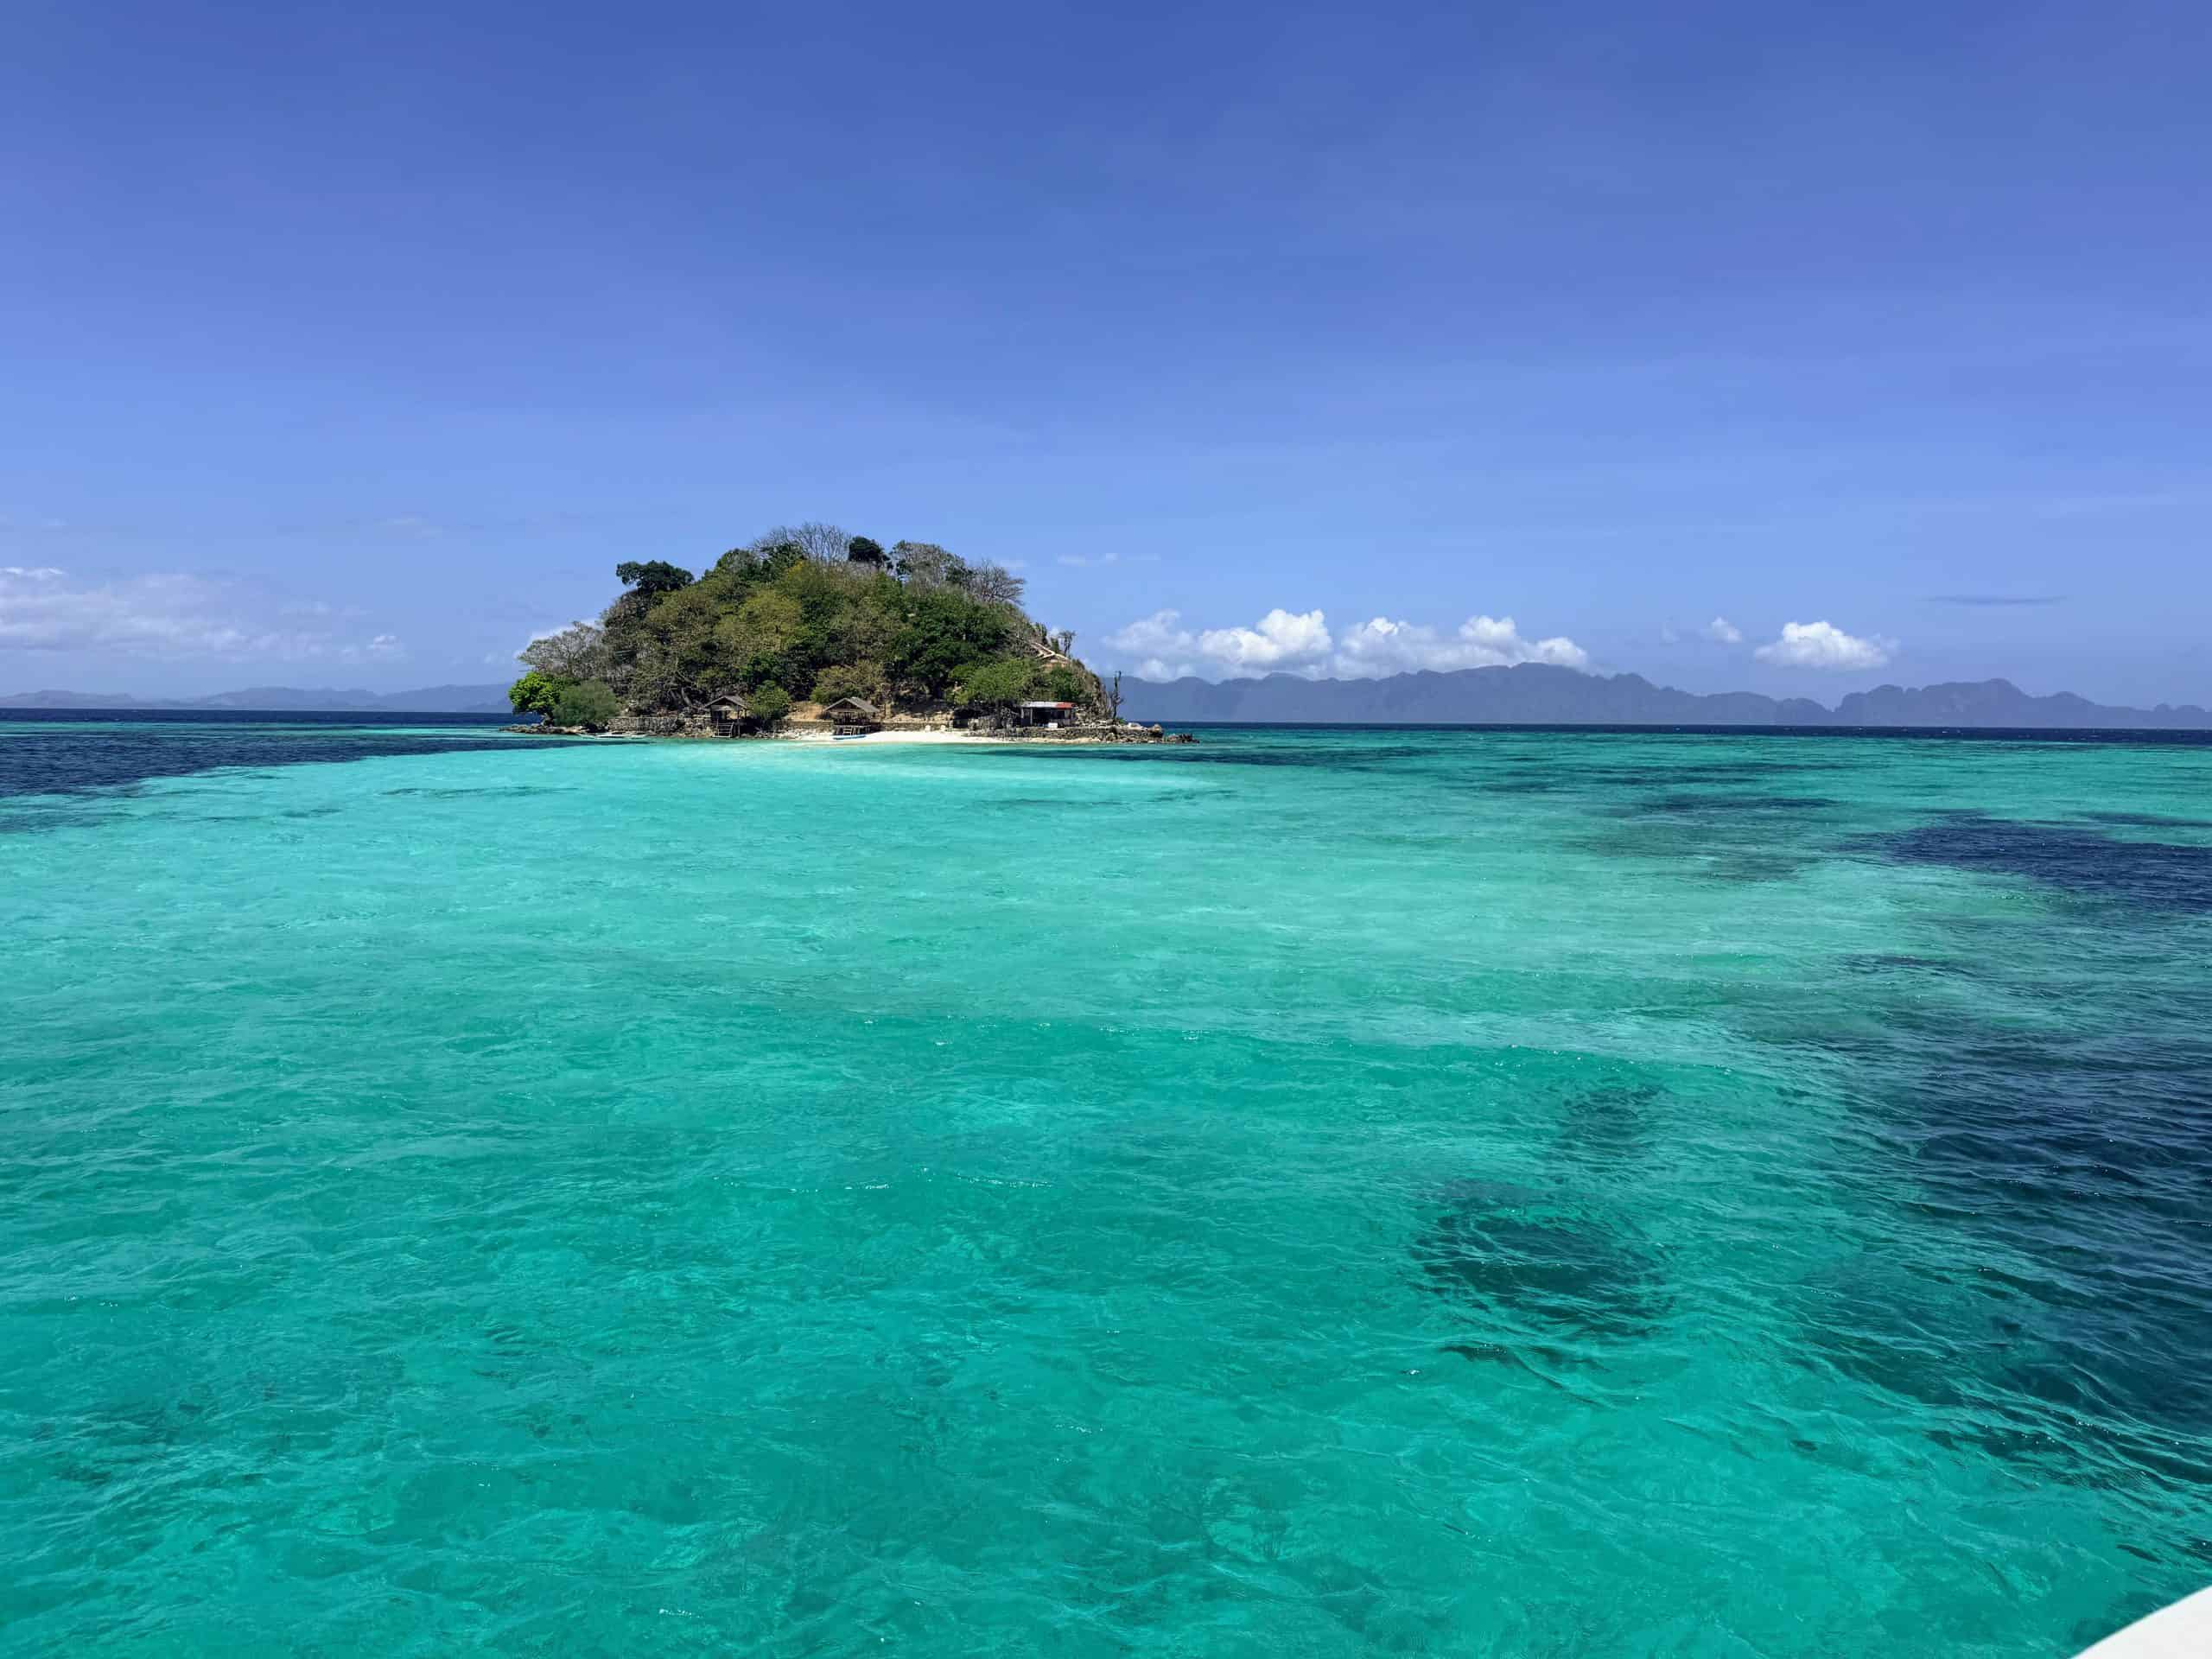
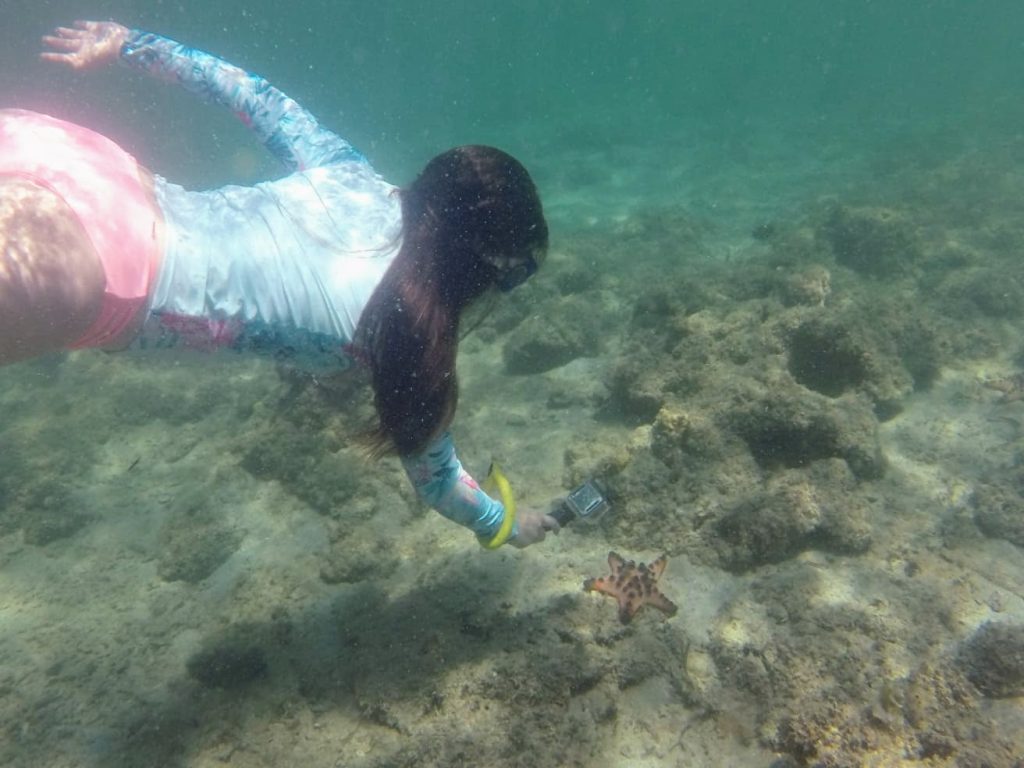
One of my first stops was Honda Bay, and it ended up being a great place to do a private island-hopping tour because it gave me much more flexibility in timing and pace, while still costing far less than a private tour in El Nido or Coron. If you do go, do not miss Starfish Island, which was one of the highlights of the day..
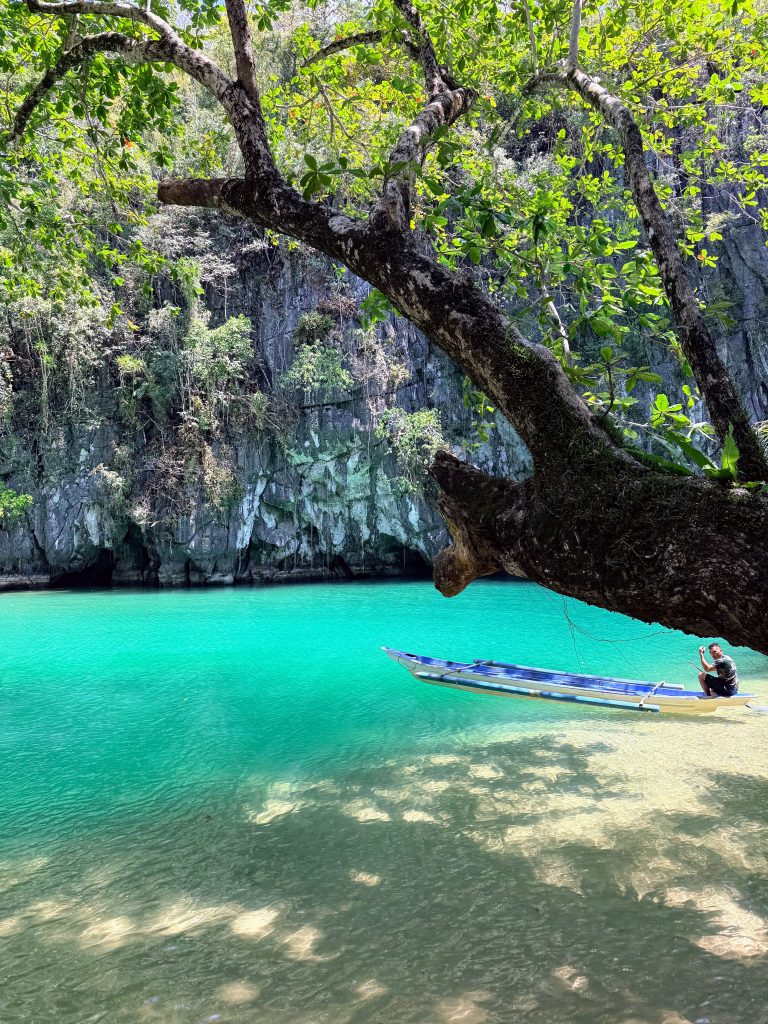
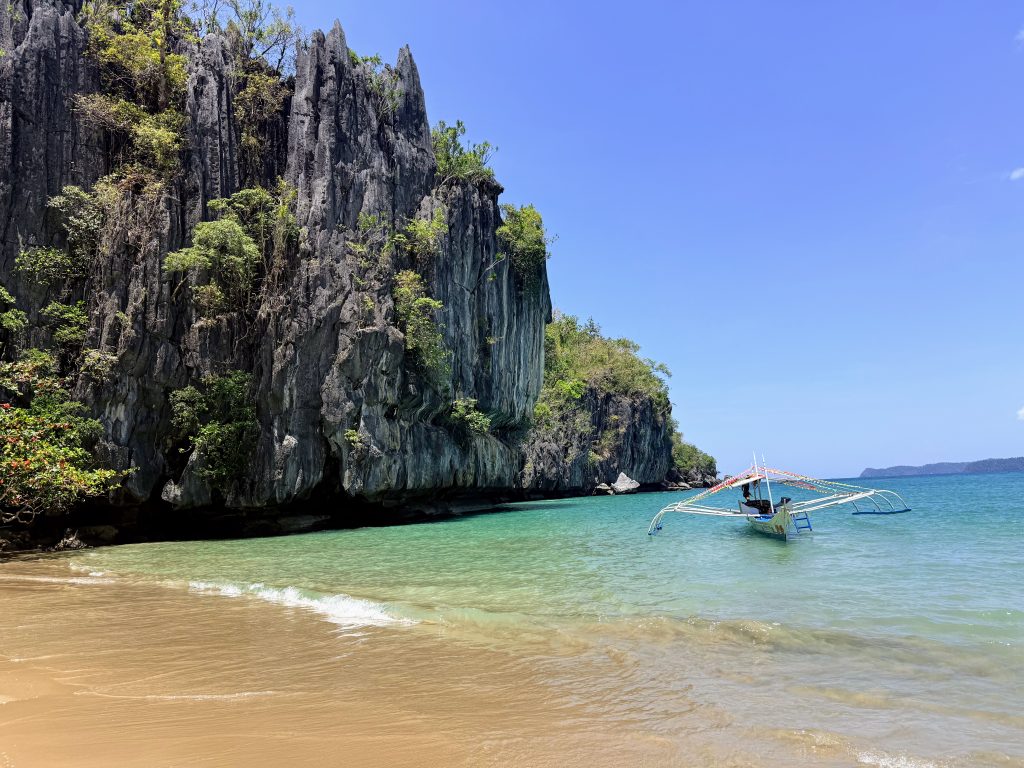
I then stayed 2 nights in Sabang, which gave me time to visit the Puerto Princesa Subterranean River and enjoy this quieter side of Palawan before continuing farther north. Starting in Puerto Princesa and moving north made Palawan feel like it kept building in beauty, from calmer coastal stops to the dramatic landscapes of El Nido and Coron.
Puerto Princesa at a glance
- Best for: arrival base, resetting before a Palawan road trip
- Nights: 2
- Why I included it: it is one of the most accessible and affordable airports to fly into from many destinations in the Philippines, and starting here made the route north toward El Nido and Coron feel like a gradual build in scenery and wow factor
Honda Bay at a glance
- Best for: easy island hopping near Puerto Princesa
- Nights: day trip or half-day stop
- Why I included it: it was an easy and flexible stop between Puerto Princesa and Sabang, with the option to do a private island-hopping tour at a lower cost than in El Nido or Coron. Since it is only about 40 minutes from Puerto Princesa and around 1 hour 30 minutes from Sabang, it fits well into the route and can even be paired with a sunset stop at Ocean Green Eco-Lodge before arriving in Sabang.
Read more: Honda Bay Island Hopping Guide: Best Islands, Tips & What to Expect
Sabang at a glance
- Best for: the Puerto Princesa Subterranean River National Park, a quieter beach stop, and a few nearby nature activities
- Nights: 2
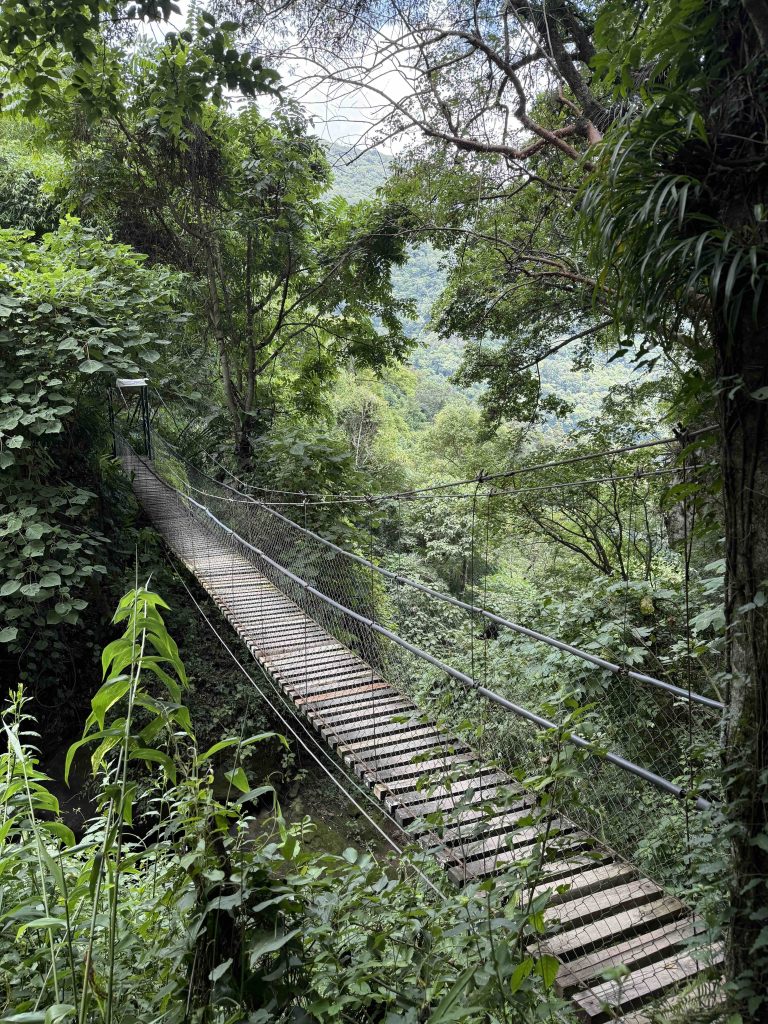
- Why I included it: I did not want to miss the UNESCO World Heritage Site, the Puerto Princesa Subterranean River, and staying in Sabang made it easy to experience more of the area. I stayed at the Four Points by Sheraton on Sabang Beach, and it turned this stop into a real highlight thanks to the pool, the service, the amenities, and the perfectly timed bonus of getting 35% off spa treatments for my birthday. The area also has a few nearby activities, including a zipline, mangrove paddle, and cave sightseeing.
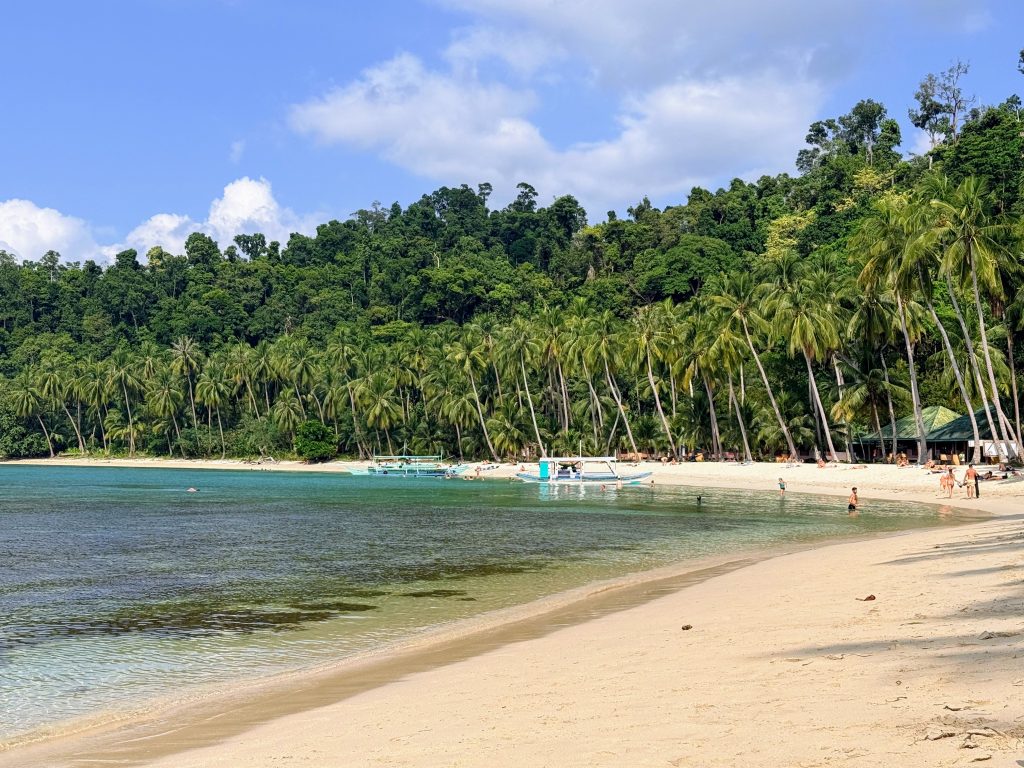
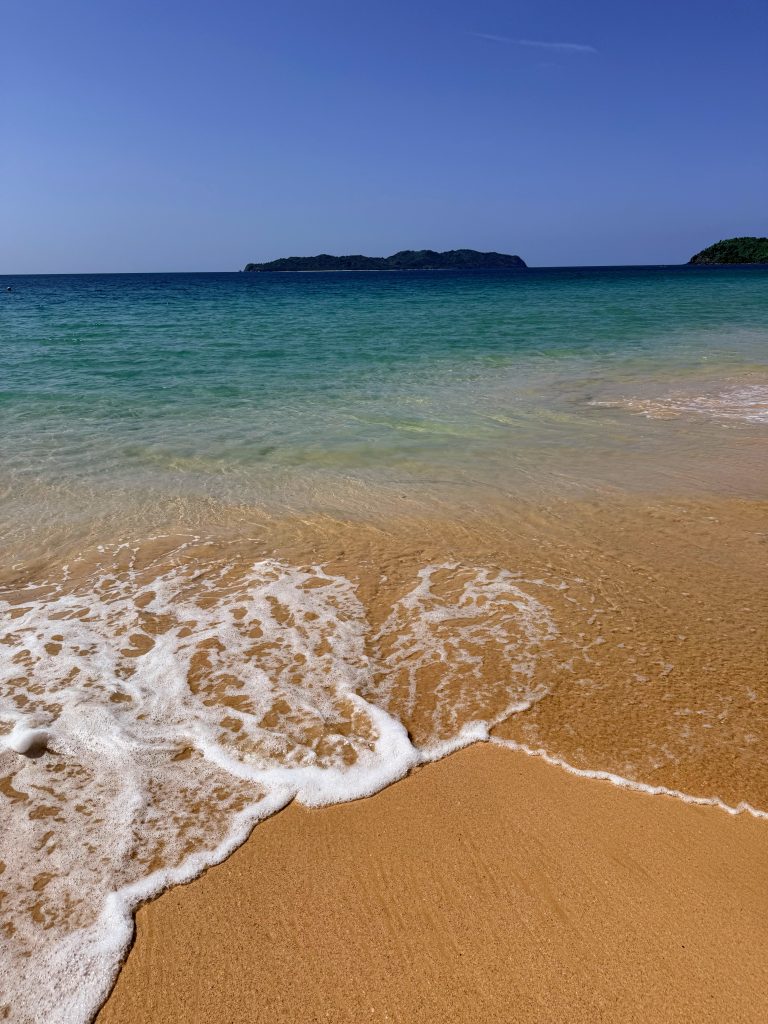
Days 9–10: Port Barton, a Smaller-Scale El Nido
From Sabang, I continued north to Port Barton, where I stayed 2 nights.
Port Barton felt a bit like a smaller-scale El Nido, with fewer tourists and a slower pace, but still plenty going on. There are lots of restaurants and bars, it is easy to rent a kayak, and you can reach nearby beaches like Coconut Beach and White Beach by tuktuk, water taxi, or kayak.
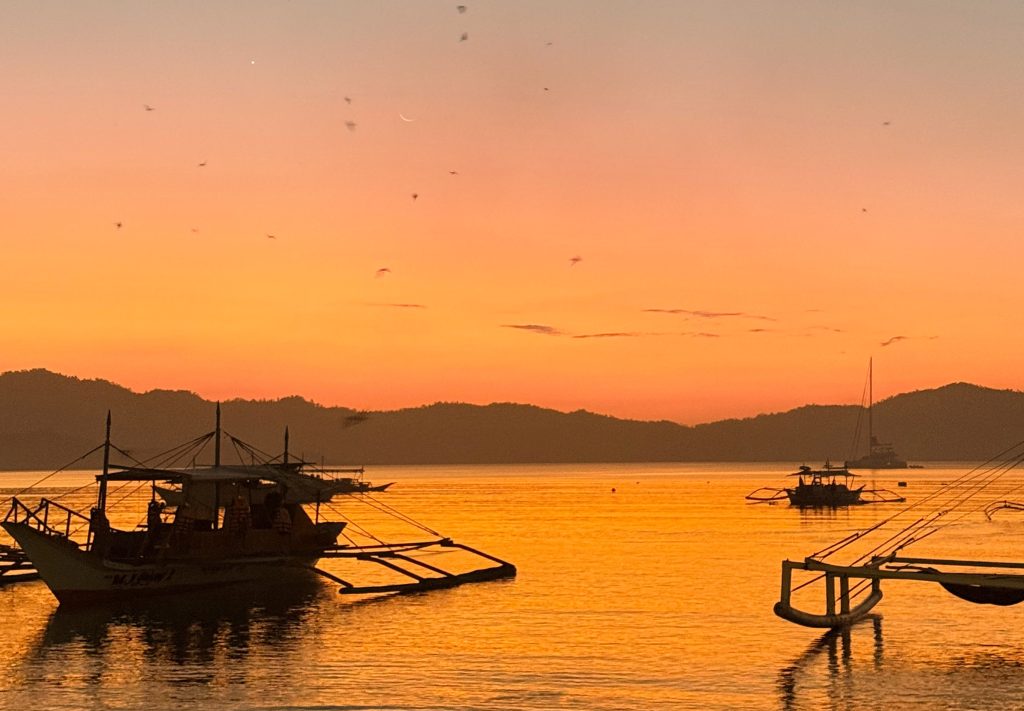
My time there was a mix of island hopping, snorkeling, kayaking, and sunset views, and it added a fun beach-town stop before continuing on to El Nido and Coron. I would especially recommend heading to one of the beach restaurants in the evening to catch sunset.
Port Barton at a glance
- Best for: island hopping, snorkeling, beach days, and a slower-paced Palawan stop
- Nights: 2
- Why I included it: it added a smaller-scale beach town to the route, with fewer tourists than El Nido but still plenty to do
Days 11–14: El Nido, Palawan’s Most Iconic Stop
After Port Barton, I headed to El Nido and stayed 4 nights.
Yes, El Nido is touristy, but honestly, it is absolutely worth including. As I drove north from Puerto Princesa, the scenery kept getting more and more impressive, but El Nido was on another level entirely. The limestone cliffs, lagoons, crystal-clear water, and beaches make it one of the most striking places in Palawan.
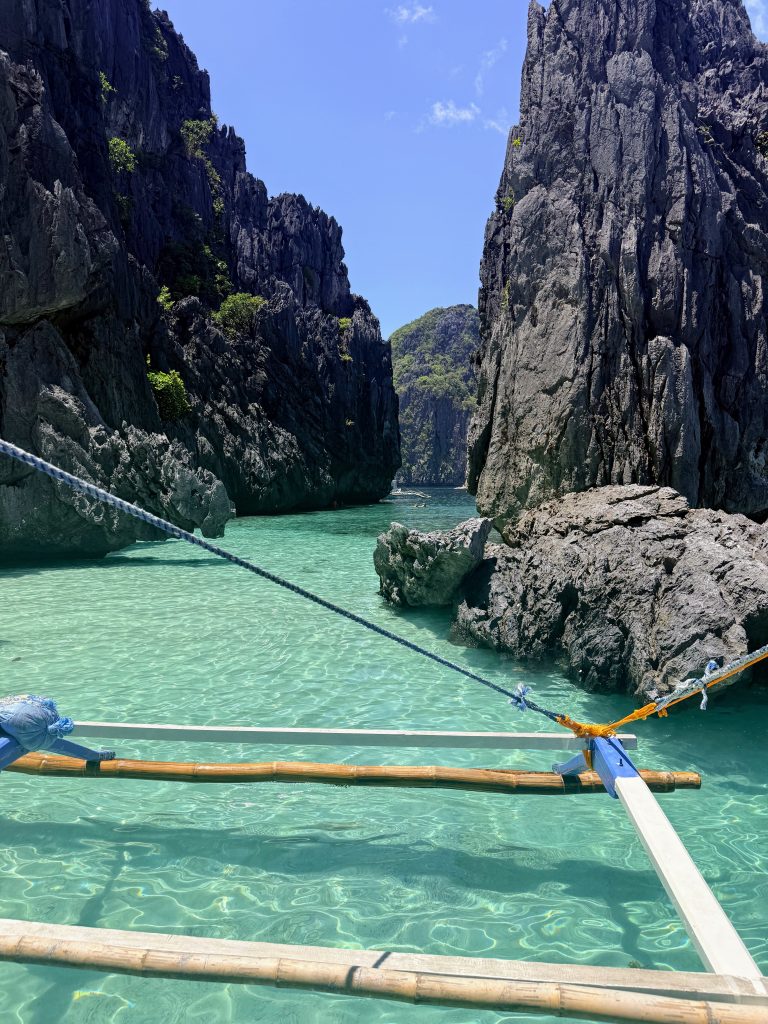
One of the things I would most recommend for first-time visitors is doing Tour A, especially if you want to see the Big Lagoon. It is one of El Nido’s iconic experiences for a reason. I also spent a full day at Nacpan Beach, which is worth slowing down for, especially if you stay for sunset. Cabanas Beach is another must for sunset, and I also did the Canopy Walk, where I got lucky with a private guide who shared a lot of insight into the limestone formations themselves.
El Nido at a glance
- Best for: jaw-dropping scenery, lagoons, beaches, and iconic boat tours
- Nights: 4
- Why I included it: even with the crowds, it is one of Palawan’s true highlights and absolutely worth seeing
Days 15–17: El Nido to Coron Sea Expedition (3 Days / 2 Nights)
Instead of flying or taking a quick ferry, I joined a 3-day, 2-night expedition from El Nido to Coron.
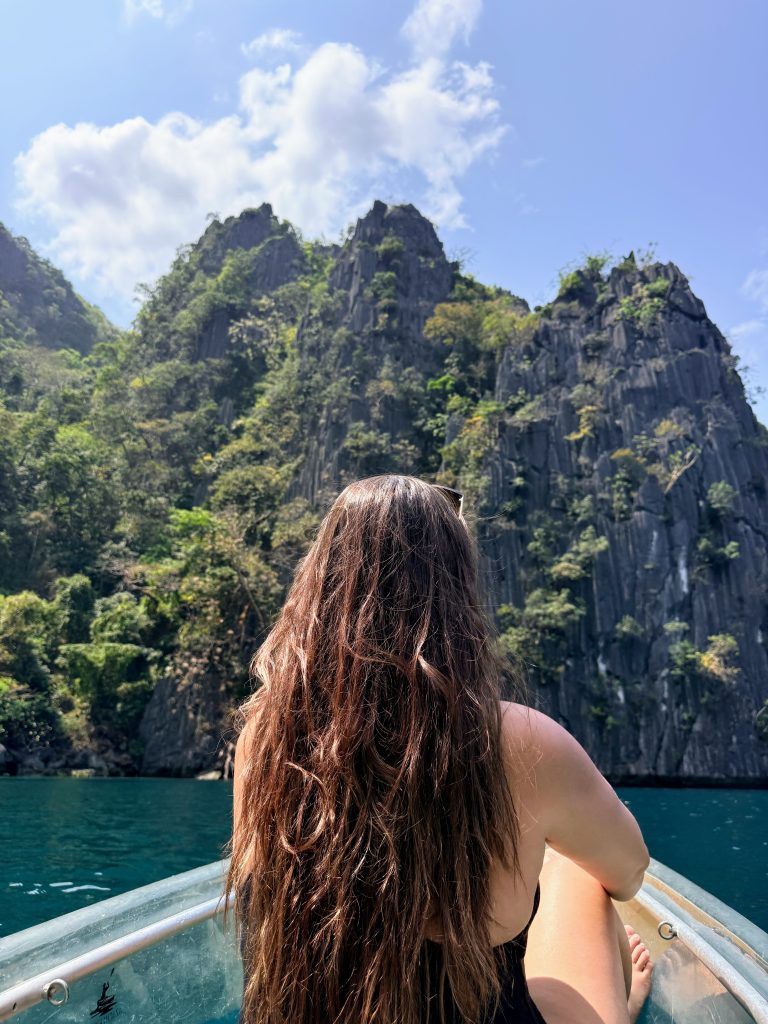
This was so much more than just transportation. The expedition takes you through islands and remote areas you would not normally reach on a typical organized day tour, which makes it feel truly one of a kind. As we made our way toward Coron, each day included 2 to 4 different stops and a mix of activities like cliff jumping, snorkeling, hiking, sightseeing, volleyball, and time to just swim or sunbathe.
It was also one of the most social parts of the trip. Spending three days on the water, moving from island to island, and sharing the experience with the rest of the group made it easy to connect and make friends along the way.
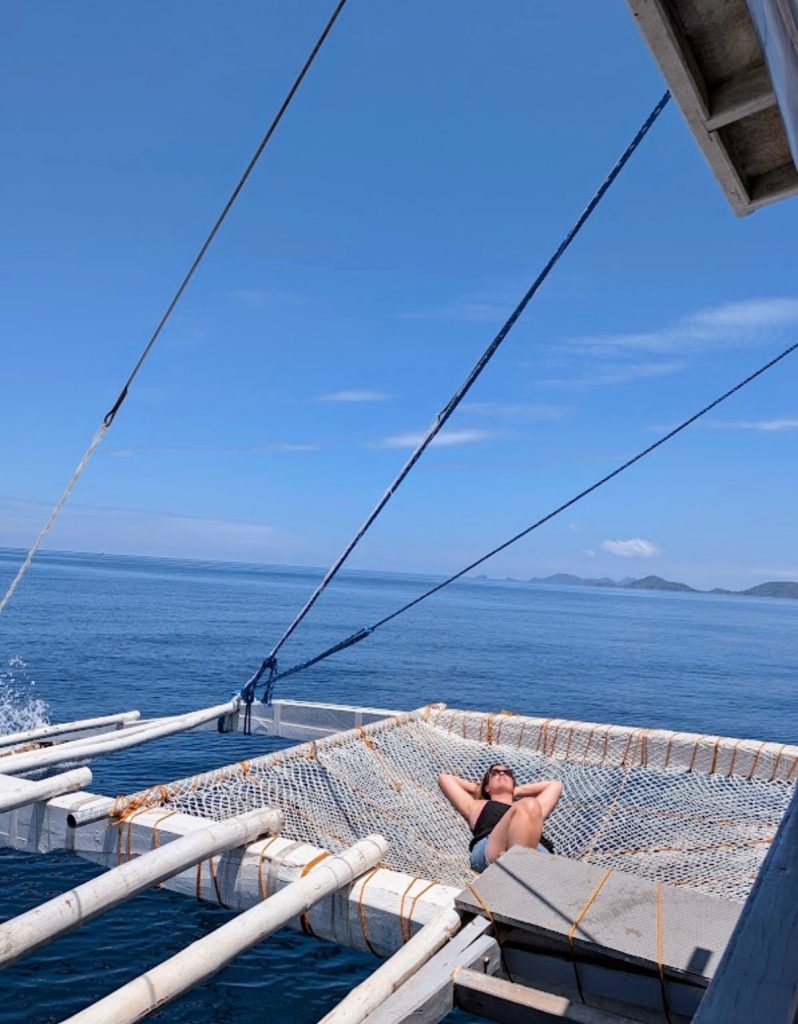
And this is very much an expedition, not a luxury cruise. For those three days, the main thing you really need is swimwear, because you are in and out of the water constantly. Even when you arrive at camp, you often have to swim to shore. The overnight stays are in very modest Filipino huts, but that is part of the charm. It made the whole journey feel adventurous, immersive, and unforgettable.
More than anything, this was the moment where the travel days stopped feeling like transit and became part of the actual trip.
Expedition at a glance
- Best for: turning the journey between El Nido and Coron into part of the adventure
- Nights: 2
- Why I included it: it gave me access to more remote islands and made the route itself one of the most memorable parts of the trip
Days 18–21: Coron, a Strong Final Stop in Palawan
I finished the trip with 4 nights in Coron, and I loved it. Although Coron is separate from mainland Palawan island, it is still part of Palawan Province and made a strong final stop on this route. Compared to El Nido, it felt a little less overwhelming, but still delivered some seriously jaw-dropping scenery.
One of the best things about Coron is how easy it is to explore on your own. I rented a scooter, which gave me a lot more flexibility with my schedule and made it easy to get around the island. I went to Ocam Ocam Beach for sunset, explored the Marcilla Beach area, and hiked Mount Tapyas with its 723 steps for one of the best sunset views.
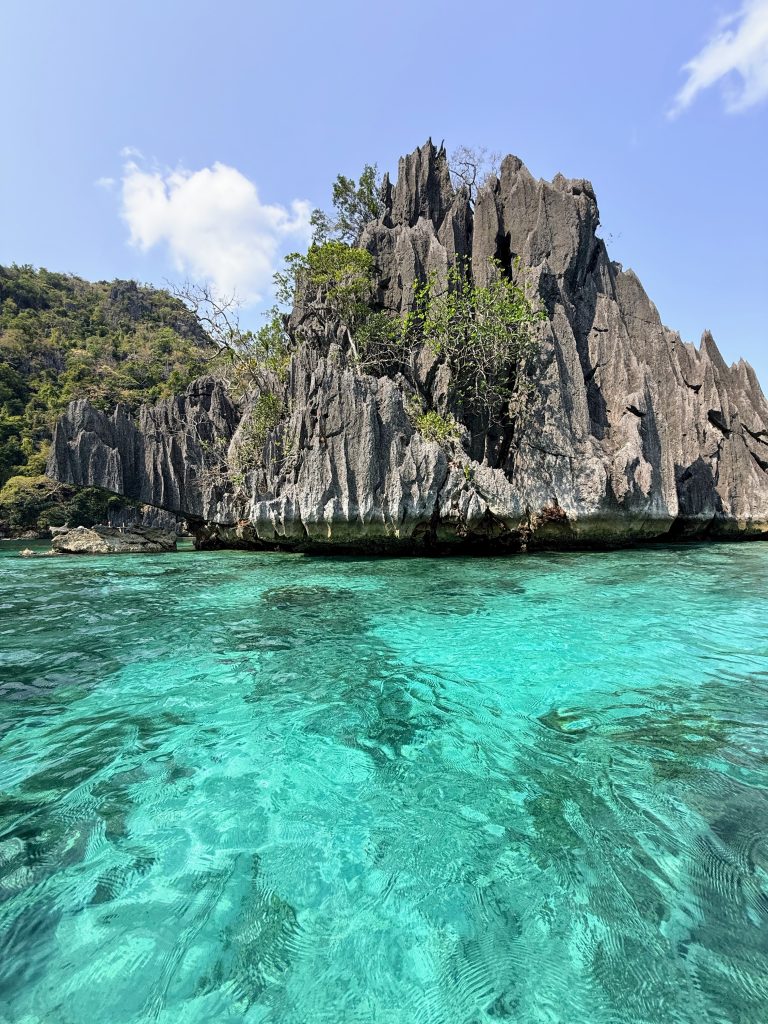
For my last day in Palawan, I also booked a private island-hopping tour because I wanted a slight variation of Tour C, which gave me more freedom to shape the day the way I wanted. Coron is also known for its world-class scuba diving, especially wreck diving, and I had some of my best snorkeling of the trip here as well.
It ended up feeling like the perfect final stop: flexible, scenic, and packed with enough variety to end the trip on a high note.
Coron at a glance
- Best for: diving, snorkeling, island hopping, and dramatic scenery
- Nights: 4
- Why I included it: it felt like the perfect final stop, with world-class diving, easy scooter access around the island, and plenty of flexibility to explore both on land and on the water
Final Thoughts
The Philippines is one of the most beautiful and rewarding countries to travel through, but it is also incredibly easy to overplan. With so many islands, routes, and dream stops to choose from, the temptation is always to add just one more place.
For me, this itinerary worked because it balanced structure and flexibility. It gave me the chance to experience some of the most iconic highlights of Cebu and Palawan, while still leaving enough room to adapt when plans changed, slow down when it mattered, and actually enjoy the journey in between.
And that is really the biggest lesson I took from this trip: you do not need to see everything for the Philippines to feel unforgettable. In fact, trying to do too much is often what takes away from the experience.
If you only have 3 weeks, I honestly think you are better off choosing fewer places and experiencing them more fully than trying to cram in half the country.
Do less. Experience more.